I just wanted to provide some initial feedback after having spent some time getting a Pi installed and working with the manual-as well as a few questions.
The packaging is great, you might want to note on the box though that a button cell battery is required but not included
What size of button cell is needed?
Unboxing experience was good, things were packed nicely for the most part (I ordered with a Pi 4B 4GB and the boxed pi was just tossed in alongside the Eon)
The manual says to remove the magnetic panels-it doesn’t explain how. I recalled a review from ETAPrime on YouTube which I went back to and it showed the reviewer removing the rear panel first, then popping the magnetic panels off from the inside. Looking at the hardware, I didn’t see any other obvious way to remove them (am I missing something obvious?)
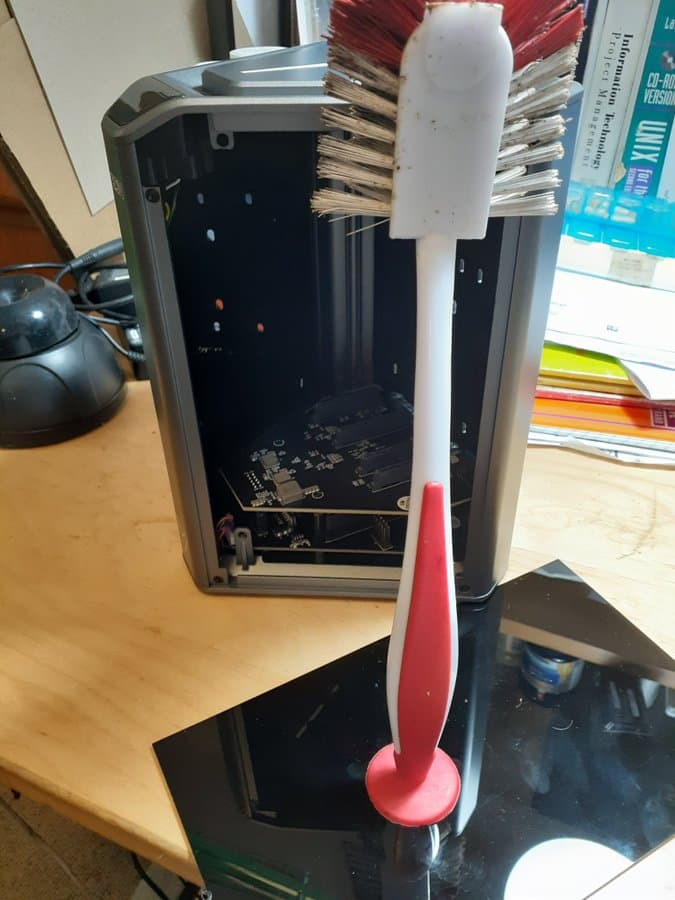
The Hexy screwdriver is WICKED!
There are noticeable machining marks on the aluminum frame-at the price point I can’t complain loudly, it’s just something that detracts from the overall aesthetic
The magnetic panels are fingerprint magnets-were they supposed to have come with the peel plastic that is common for this sort of plastic? I’m pretty sure the ArgonOne and ArgonNeo bottoms both came with a peel to protect them
Scratched magnetic mount screws - not a huge deal, just a minor nitpick and understandable that it might occur with the push to get these shipped
Odd number of SSD screws? I received 7 screws in the bag
The HDMI daughterboard is quite difficult to insert into the Pi (or at least with mine it was) a little warning or close up photo to show how it far it should sit when properly inserted might help-as it does obviously affect the install of the Pi into the chassis
I was waiting on an SD Card to write before continuing further. I’ll update this with any other things I notice once I can get it booting and the Eon script installed.
Thanks again for this project, I’m looking forward to playing with this new device!
It needs a CR1220 battery for the RTC - I agree it would be nice if this was called out in the documentation or on the box.
I was also surprised that the panels didn’t come with peel plastic attached to protect them and make it easier to remove the panels - in the end, I managed to get a finger nail into one corner to remove them.
I had a slight problem with the alignment of one drive to the screw holes in the back panel. With the back panel facing away from you, it was the third slot from the left. I tried two 2.5" drives and one 3.5" drive and they all had the same problem, so I don’t think it’s related to the thickness of the drives. It was only out by a small amount and with a bit of flexing I was able to get the screws in, but the other three aligned perfectly.
Initially, I couldn’t get the Pi into place in the bottom of the case. The metal case for the ethernet port wouldn’t go past the hex-shaped support located just behind it. I had to loosen that support slightly to allow it to move a little. It gets tightend up again when you fasten the screws to hold the Pi in place, so it’s no big deal, just a FYI in case anyone else has the same problem.
The finish is excellent, I have none of the marks mentioned above (sorry Troy)
[Documentation Only] The included install instructions say to just remove the two magnetic side panels but I found that I could only get the Pi in if I took off the back panel as well. You then have more room to fit all the innards onto the GPIO pins. When you finally replace the back plate it just drops over the ports on the Pi.
Totally agreed-removing the back panel should probably be the first step when installing the Pi.
I was quite uncomfortable with prying the magnetic panels off without knowing how the magnetic latch worked. I’ve broken things that were supposed to be easily removed in the past due to no explanation. What is obvious to one person isn’t necessarily to others.
A cut out for you to pry with your fingers or a hole to use to pull it off would be a bit easier to identify as the removal method.
well stated and generally the same experience as others.
agree on uncertainty of how to get the magnetic panels off… i pushed in the middle and was able to get a finger nail in the gap and pull it off…. thankfully i didn’t break it. I may fold a small piece of tape on itself and attach it to the inside sticking out slightly so next time i have something to grab onto. I think the reason these are magneted on is so that they can come off quickly, but there should be something built in to help get them off quickly so removing the back is unnecessary.
-a minor thing, but one of the magnets came unglued and is still stuck from the panel and is still stuck on the frame magnet, lol.
I won’t repeat what’s already been said, just to say i agree with others and think more documentation is generally needed.
My main gripes/feedback so far in the two days I’ve had it are:
I wish they threw in the coin cell battery for free… given they threw in a free screwdriver… I’d rather the free battery than free screwdriver.
The fan is pointing down instead of up? Not sure how I feel about that… I feel like it would end up just circulating hot air inside. I might have to flip it (and add some risers to add more space for airflow)
They should have added more screw points for the m.2 usb… They only had one and it was at the 22110 length instead of 2280… Most m.2 usb boards and ssd sticks themselves are 2280 so if it had to be one screw in point, it had to be 2280, not 22110.
Other than those, I am pretty satisfied overall. Good and nicely built.
Thank you for all the feedback and suggestion, especially on the documentation. We update these things moving forward.
On the free battery, this is more of a logistics limitation. Most countries have strict regulations and needing certifications when shipping goods via air when an appliance or device has batteries.
Fair enough! I’ve heard similar reasons for other crowdfunded projects that are shipping to multiple countries… so it gets tricky when you want to ship things fast as possible.
For me, sticking a post-it (or gaffers/painters tape) would let you pull the magnetic side panel. Admittedly, I did open the back panel first since I didn’t see any indication you can just pop off the sides. Afterwards once the whole thing was fully assembled, I remove the sides using tape or post-it notes.
When connecting the ribbon cable into the microSD slot on the PI, make sure it is fully seated. I thought mine was, but it wasn’t resutled in multiple boot failure and reports of not being able to access the SD device.
Rotating the internal USB connector 90 degrees would make installing the USB->M2 device easier.
Actually considering picking up second for my inlaws!
seems to make a huge difference switching fan sides. In my first runs during one hour each test, decreasing temperatures about 8-9 degrees (just keep it running without any special load)
Indeed, been a day now for me after flipping and I’ve seen better temperatures in idle and under load. Seems to be that the fan pointing up is the correct direction it should have been.
The fan situation seems to make sense, from a common sense POV as well as a results-based conclusion.
Going to go along with you guys and flip mine so it is Air Flow UP.
Hoping that if anyone knows of any reason why it should be pointing down that they would share it here for all of us that are flipping ours.
OR an official response from the Argon team would be even better.
after some more tests with my initial setup (2hdd + 2ssd)
I really recommend some bumpers between the case and the mechanical disks (and probably also between the pi and the sata header board)
In my case some rubbers between the disks and the case makes it some quiter.
It‘s also a case to prevent to much vibrations between each disk which could have an impact on lifetime after long a longer runtime
maybe the Argon team can include some bumpers within later delivered units.
Makes a big difference regarding noises and vibrations if you‘ve placed the nas on your daily working place
regarding transfer speed I‘m able to reach about 80-90mb/s over smb-shared network
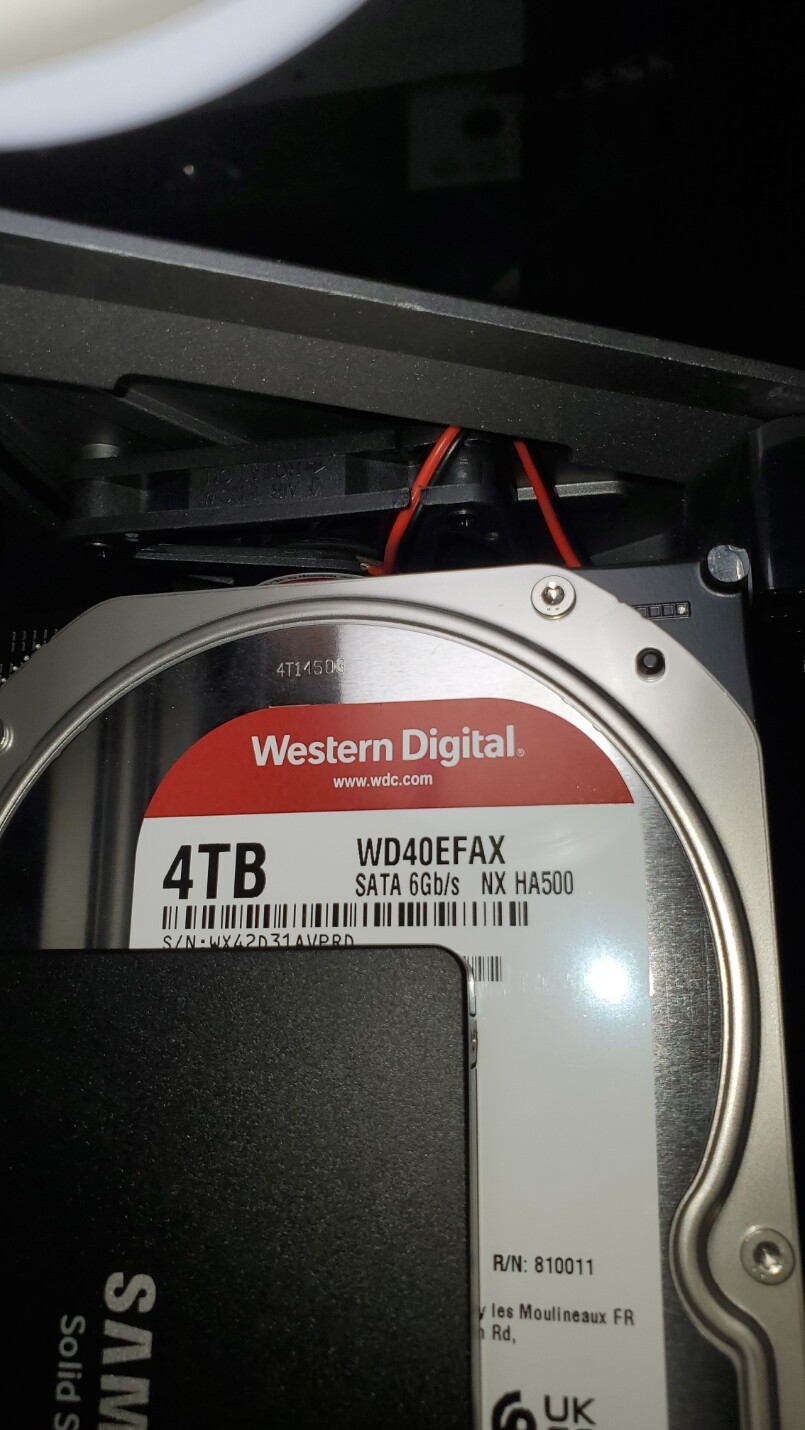
After installing 2x WD Red CMR 6TB drives and configuring them in RAID1 via MDM and formatted as XFS, I was hitting 880 Mbps peak network usage (using iftop to measure the network performance) copying from my current NAS which is using ZFS and some shucked WD white label 8TB drives mirrored. So that translates to 100+ MB/s writing to the mirrored disks in the EON.
Some preliminary testing of streaming video from it was flawless.
I have also gotten as far as enabling TRIM for the two SATA SSDs I’ve tossed in, I haven’t tried to use them yet to verify that TRIM actually works though.
I’m curious, as someone who’s only ever used ZFS and EXT4, what made you choose XFS for this device. I saw your post last night and read up on the XFS file system a bit, and it certainly sounds robust, but I rarely see anyone mention deploying it in home/small office environments.
It is more about the purpose-I had come across recommendations when choosing a file system somewhere, that XFS was ideal if the sole purpose of the volume is streaming media.
I normally prefer ZFS for a file server-but based on Jeff Geerling’s testing of the file system on Pis and the fact the disks are being accessed over USB would make things even more unsupported-it was a no go.