I have had an Argon One V2 case for since some time in 2023, and am just now getting it into use. I want to set it to auto-power on after power outage, and have read in many places that this is done with a jumper inside the case. I have already moved the jumper over, however I still don’t fully get the system booted after power comes on.
Attached to the USB ports is some LEDs that do come on, but it doesn’t seem to boot up (or at least doesn’t provide any video output) without shutting off and back on. I have power coming in through the USB-C.
Can anyone provide some guidance on what I might be missing? I’ve been looking for days and have not found anything outside of the jumper.
Are you sure, that the system was shutdown properly before? Normally the system should start with a button press again, also if the jumper is set to the always-on position. Or do you everytime unplug the power supply from the socket? Can you verify that, please?
Depending on the operating system you use, you should check if the system is booted headless and you can login via SSH. If the system is booted, but only no video output, then it could be an issue with EDID data and you could force the video resolution via kernel command line.
I am putting this into an arcade cabinet. Even when shutting down properly, and turning off power through a power strip in the back, the device does not come on when turning power back on. The cabinet is fully enclosed, and I hope to keep it that way, so ideally once the power strip is turned back on everything powers up. It could very well be that it is booting headless - for some reason it does not maintain my network settings when powering off so I am unable to test SSH connection.
I will try the note to the kernel file you posted and see if that resolves it - thank you!
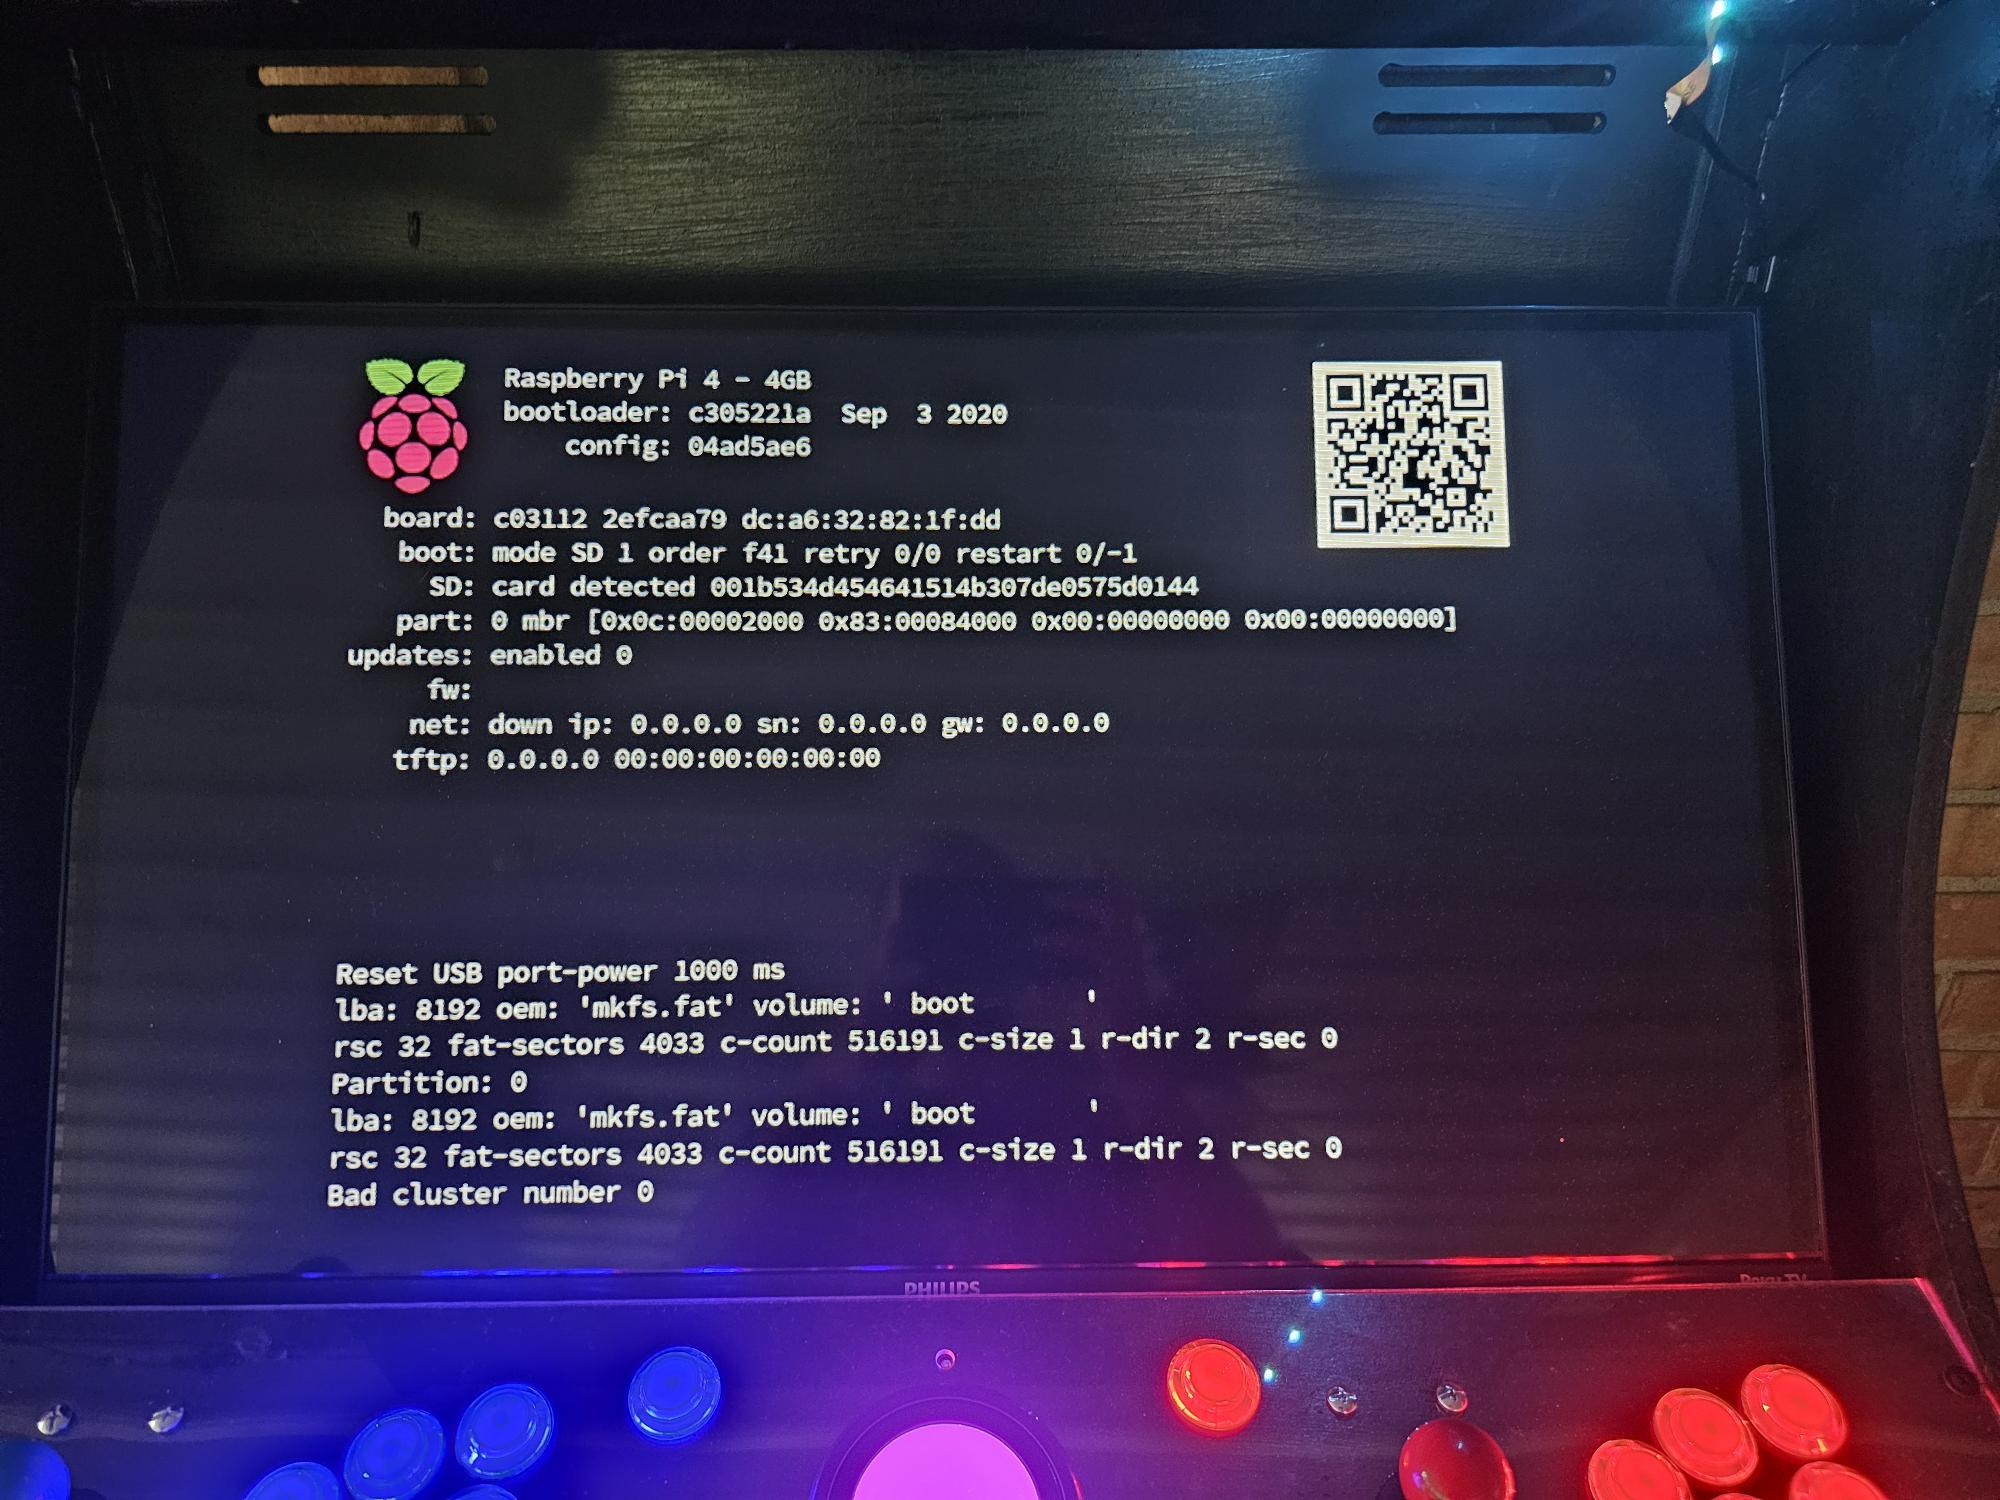
So, while looking into this I did not see a /boot/firmware folder. I tried a couple settings changes in /boot/config.txt and somewhere along the line it seems my SD card has corrupted, as now the system will not boot at all. Of course, I had not yet made a backup either as I was hoping this would be an easy fix before I did so.
The boot partition mount point has been moved to /boot/firmware/ with recent distributions/kernels. Maybe you use a much older distribution. Your bootloader looks also very outdated 2020-09-03.
Which distro do you currently use for your arcade cabinet?
I just started fresh with the most current retropie library, since the previous card was corrupted. I did some basic setup today and will make a backup before trying this again tomorrow night. Is there an easier way to get the @ character when using nano? I feel like my best option otherwise is to put the text into another file from my windows PC over wifi and later copy that text at the pi.
After going through the full install with the latest retropie image, I still do not see a /boot/firmware folder. I am fairly new to using a linux system, so this is unfortunately taking me a while to get used to - though I did get SSH enabled and WIFI is connecting after boot as it should. With SSH I don’t have any problems with special characters (such as @) as I did on the pi iteself.
I do now believe that if I turn on the TV that’s connected to HDMI first, the system seems to boot fine (further testing this later tonight). However if I rely on the pi outputting signal to turn on the TV, that does not work - and causes me to have to shut down and restart the pi to get it to connect. For reference, I am using the " Argon Type-C Power Supply with Switch 18 Watts 5 Volts" power supply from the Argon One shop.
Also I assume, that the linked option for the cmdline.txt isn‘t supported yet.
You must search for a legacy way and play with the settings in the config.txt.
The video driver depends on the EDID data from your TV to enable the video output automatically and for sound support via HDMI.
The bootloader is also involved in that procedure, thats the reason why I already pointed you to your very outdated bootloader from 2020-09-03. To fix that, you should prepare another SD card with a recent PiOS and update to current bootloader like 2024-07-30 first.
If your TV have a bad firmware and delivers no EDID data in off state, then your setup will not work without additional workarounds.
Maybe you can grab the EDID data during the TV is powered on and save that information into a file. This file can be used with the next boot to fake that the TV is connected.
For example LibreELEC has such options to workaround bad TV firmware or if the HDMI chain has some other bugs. But I don‘t know if RetroPie supports that too. You must research this by your own and maybe open a thread in the RetroPie forum.
Thank you for your continued replies. For the time being, I’ve just done a work-around by utilizing a second power strip. I hope to come back to this down the line, but for now since I had to do a fresh install I have many other settings to work through to get everything running as it was before, so I’m going to leave it as is for now while I get through everything else.